
Choose an installation method
You only need one detection source to start. Choose the source closest to where your traffic enters, get it reporting, and add another layer only when you need broader coverage.
Create a free accountFollow the quickstartProtect an AI application
Section titled “Protect an AI application”AI Protection — Alpha checks requests before your backend calls a model. Install the dedicated Node.js, Go, or Python SDK and integrate it into the AI route. Follow the AI Protection setup guide.
The fast answer
Section titled “The fast answer”| Your site | Start with | What it sees | Typical setup |
|---|---|---|---|
| Traffic runs through Cloudflare | Cloudflare edge sensor | Every request at the edge, including non-JavaScript crawlers | About 5 minutes |
| WordPress or WooCommerce | WordPress plugin | Server requests, browser signals, forms, login, and WooCommerce | About 3 minutes |
| Node.js, Express, Fastify, or Next.js | Node.js SDK | Request metadata, local rules, tripwires, and app-level decisions | About 10 minutes |
| A Node.js app on Railway or Render | Railway or Render | The same SDK, with the client-IP setting that platform’s proxy needs, or a one-click starter | About 5 minutes |
| Anything else | Browser detection script | Headless browsers, automation, browser agents, and LLM referrals | About 2 minutes |
For AI endpoints running in your own Cloudflare Worker, see
AI Protection on Cloudflare Workers.
This experimental application adapter checks requests before model invocation;
it requires an application code change and SDK version 0.1.0-alpha.13 or newer.
CHOOSE YOUR FASTEST PATH
Install where your traffic already flows.
Pick one source now. You can layer in the others later for broader coverage.
See every request at the edge, including GPTBot, ClaudeBot, Googlebot, curl, and other clients that never run JavaScript.
Install the edge sensor →02WordPress pluginInstall from WordPress Admin for server and browser detection with no code.
Open WordPress setup →03Server SDKDetect and act inside Node, Express, Fastify, or Next.js with request-level control.
Choose an SDK →04Browser scriptPaste one line to catch headless browsers, automation, browser agents, and LLM referrals.
Copy the install line →Not sure? Compare coverage and choose from a decision table.
What each layer can see
Section titled “What each layer can see”| Capability | Edge sensor | Server SDK / plugin | Browser script |
|---|---|---|---|
| Requests that never run JavaScript | ✓ | ✓ | — |
| Googlebot, GPTBot, ClaudeBot, curl | ✓ | ✓ | — |
| Real client IP and request headers | ✓ | ✓ | Limited |
| Headless-browser artifacts | Limited | Limited | ✓ |
| Browser behavior and integrity | — | With browser client | ✓ |
| Block or throttle before app logic | At the edge | In your app | — |
| One-line / one-click install | ✓ | WordPress: ✓ | ✓ |
For the precise sensor-by-sensor matrix, read Detection coverage.
The installation flow in the app
Section titled “The installation flow in the app”- Create your account and name the site you want to protect.
- Open Integrations and choose a detection source, or use the install recommendation in the dashboard setup checklist.
- Follow the source-specific install. WebDecoy keeps waiting for its first event and tells you when one arrives.
- Open Sensors to confirm the source is Reporting, Nothing reported yet, or Quiet.
- Use Send a test detection on the dashboard to trip the example decoy and prove the detection pipeline end to end.
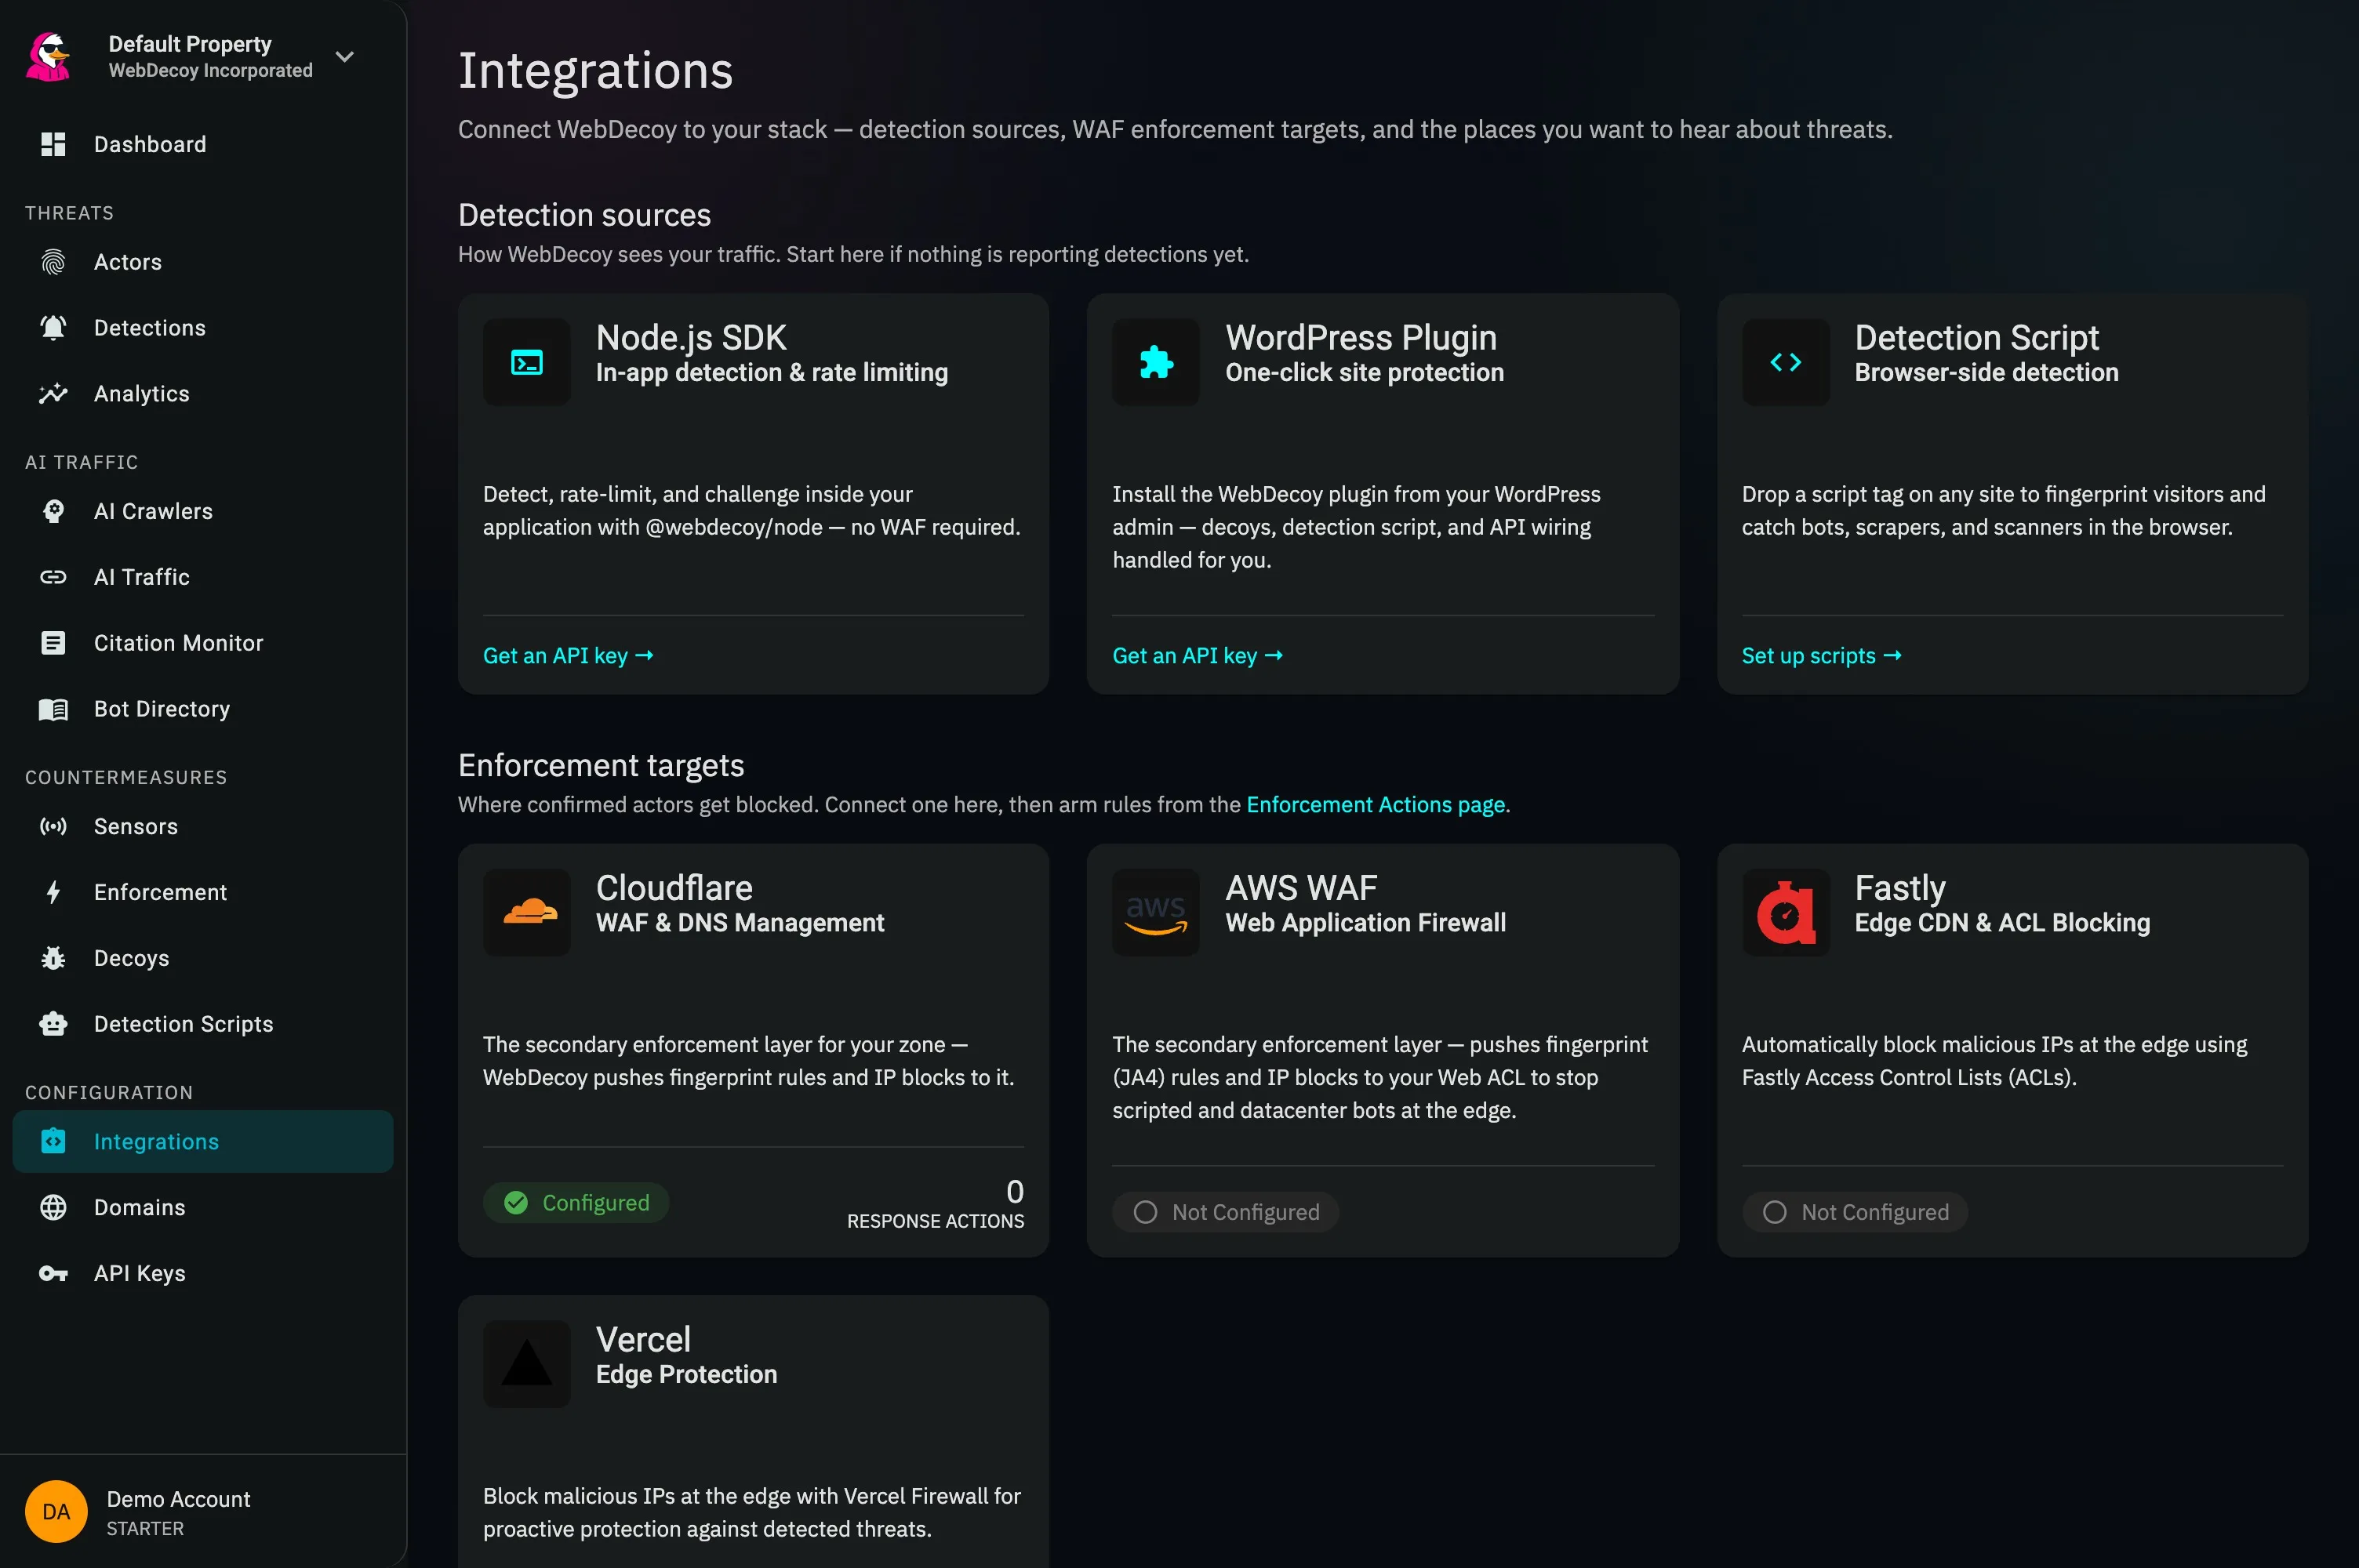
A strong production setup
Section titled “A strong production setup”Most production sites eventually use two complementary layers:
- Edge or server detection to see every HTTP request, including clients without JavaScript.
- Browser detection to collect browser-integrity and behavior signals from clients that do execute JavaScript.
Add decoy links and tripwires when you want a high-confidence signal that depends on what the client did, not what its headers claimed. Then begin response in monitor mode before turning on blocking.
Next step
Section titled “Next step”Already installed? Verify the source and fire a real test detection.